How To
Path morphing in Animator is as simple as double-clicking a path on stage and moving its points (vertices). The technique can be used to great effect and is not just for prototyping — you can drop the final product into a real codebase!
Start by instantiating a shape you drew in either Sketch, Figma, or Illustrator onto the stage. Double-click your path to enter path selection mode — here you can visually translate your path's vertices. Note that if your path was born as a shape primative in your drawing tool (think rectangle, oval), you may need to double-click the shape twice to enter its path selection mode.
 Entering path selection
Use a vertex's bézier handles to change its curvature. Want to learn more about using bézier handles? Check out this article.
 Adjusting with bézier handles
Our bézier handles are automatically mirrored to start. For disconnected, asymmetric fine-tuning, hold down the modifier key Command (⌘) to detach bézier handles from the automatic mirroring.
 Independent bézier handle manipulation
To alternate between straight (no bézier handles) and mirrored modes, Command (⌘) + click the vertex itself.
 Alternating between straight & mirrored modes
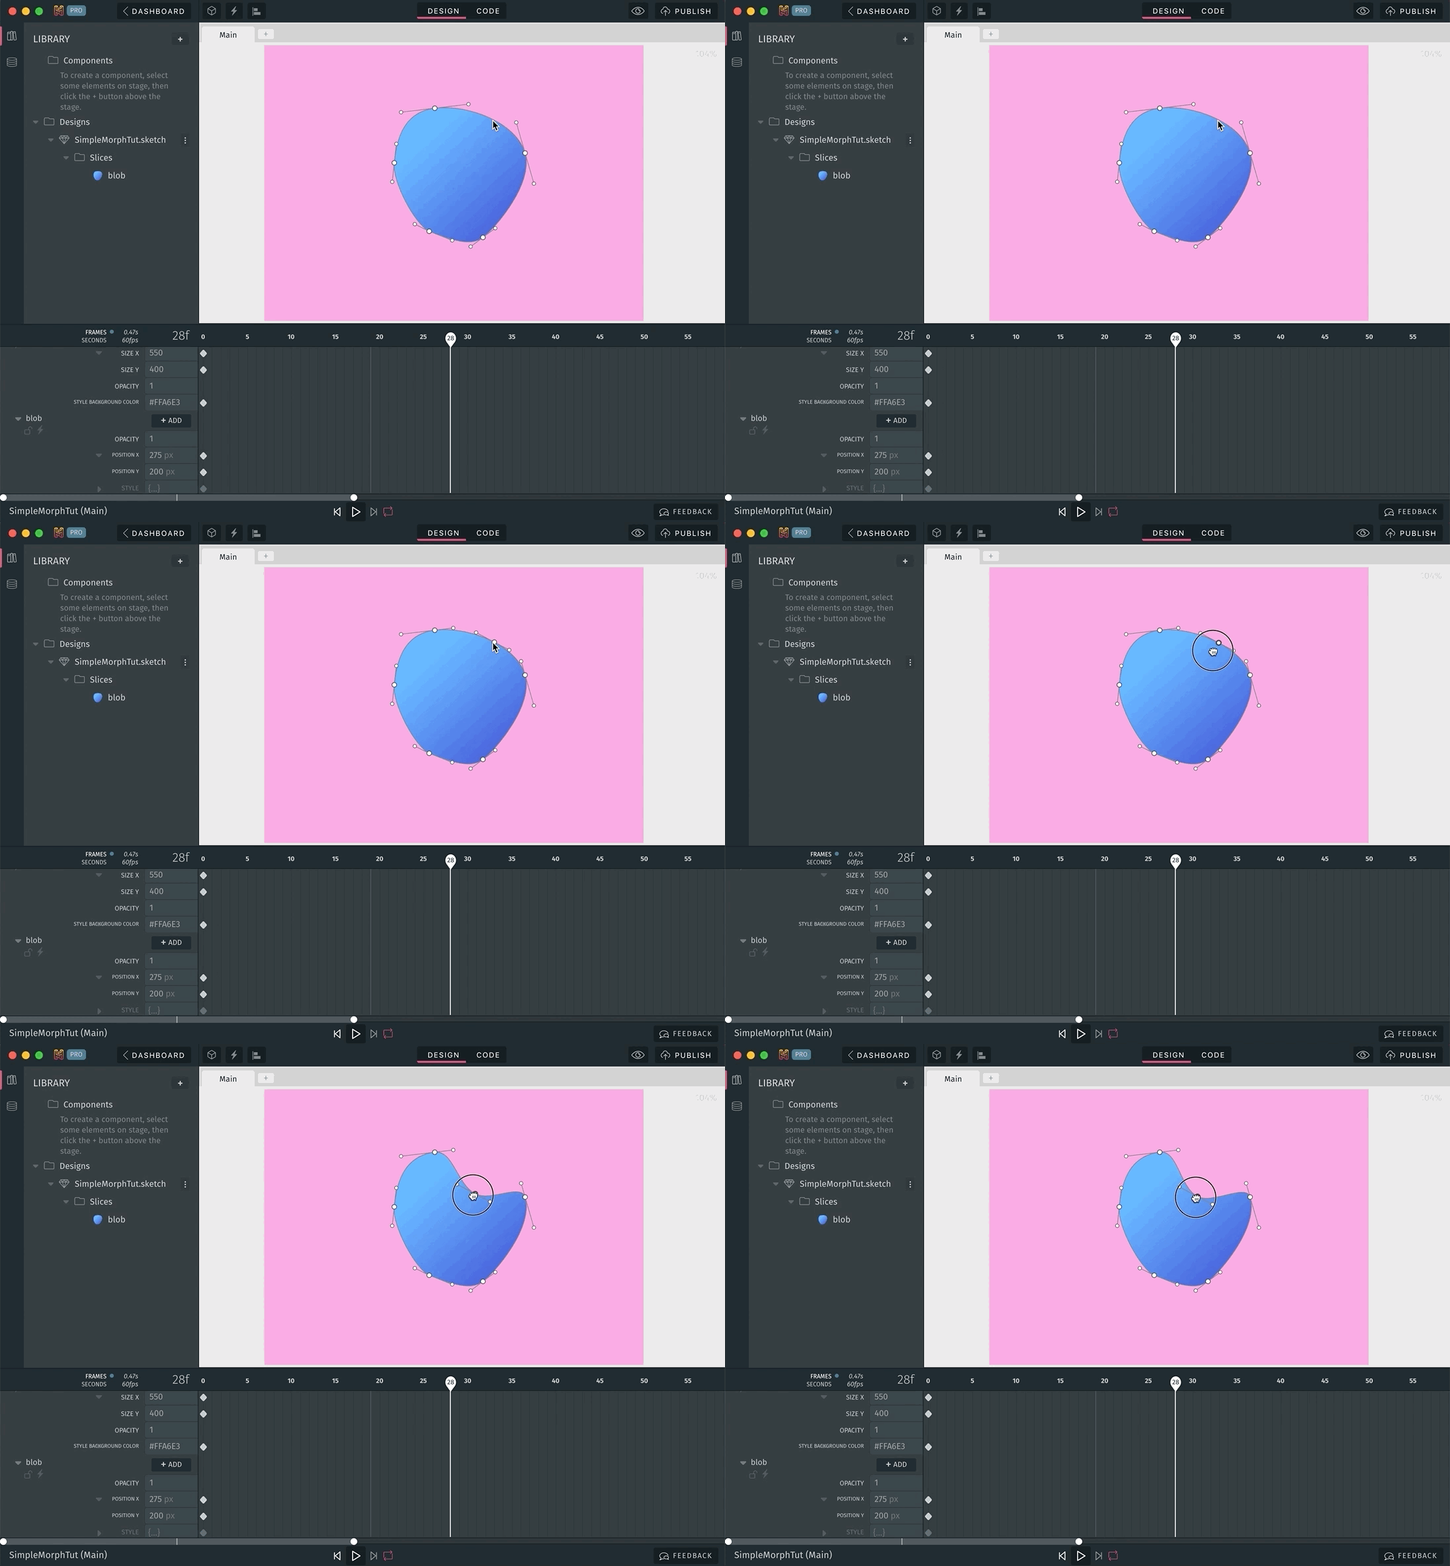
Need an additional point? Double-click or Command (⌘) + click the shape perimeter to insert a vertex.
 Insert a new vertex
That's it!
If you'd like to download and explore the first example shown at the top of this post, you can fork the project here.
If you'd like to check out a more advanced follow-along video tutorial we have you covered as well.
Keep up to date with the latest on:


